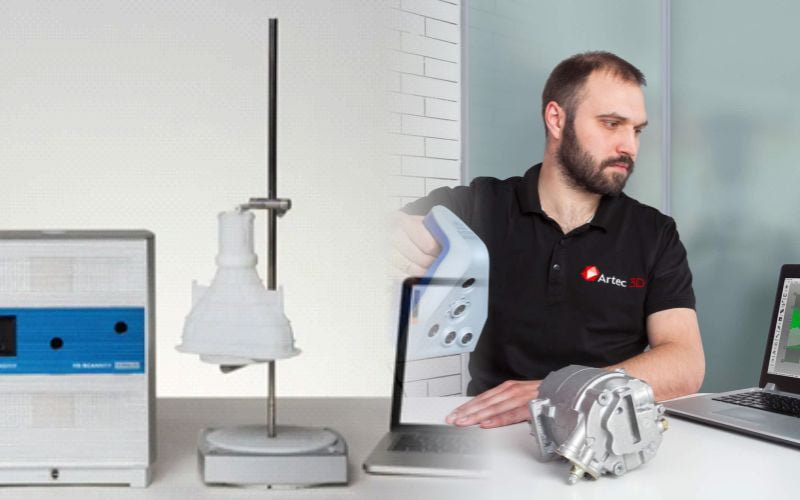
Reverse Engineering is a process that involves measuring a physical object and reconstructing it as a 3D model to recover the design intent—a perfect reconstruction of the original design—in terms of simple analytical surfaces (planes, cylinders, etc.) and freeform surfaces (NURBS) in order to produce a new reference CAD model.
As CAD engineers and industrial designers, you have the critical task of adapting and maintaining parts with shapes that are frequently organic and complex. Since the CAD models are often no longer available or difficult to find, you have to reconstruct the 3D models and integrate them into the design.
The reasons for reverse engineering are multiple: to replace damaged components (for which CAD models are nonexistent), to update obsolete parts, to fit new parts into a current assembly or environment, to generate new manufacturing plans, or simply to analyze competitors’ product features. 3D scanners are generally the preferred technology for extracting dimensional information and representing it as a point cloud or an automatic and instant mesh.

A 3D scanner can be based on many different technologies, each with its own limitations, advantages and costs. Many limitations in the kind of objects that can be digitised are still present. For example, optical technology may encounter many difficulties with shiny, reflective or transparent objects. For example, industrial computed tomography scanning and structured-light 3D scanners can be used to construct digital 3D models, without destructive testing.
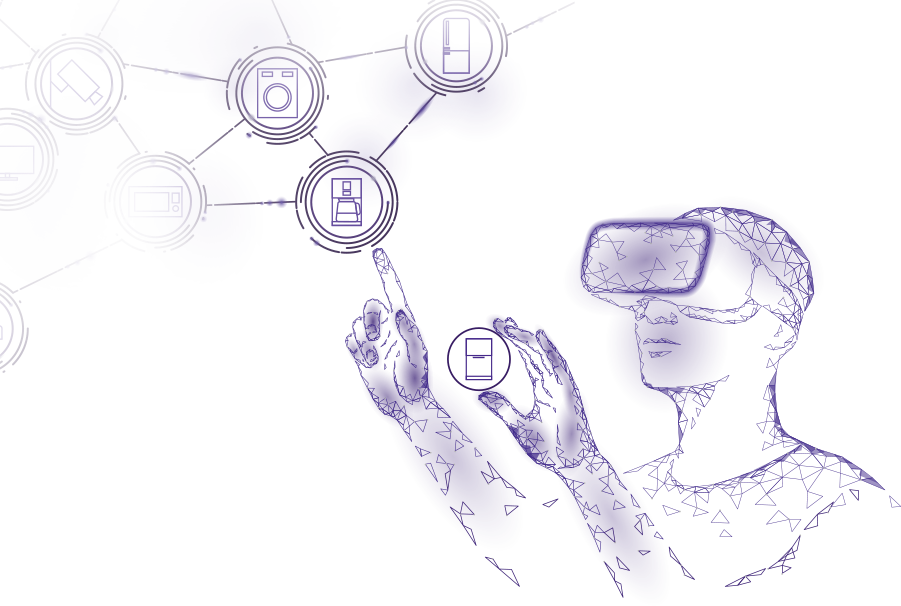
Collected 3D data is useful for a wide variety of applications. These devices are used extensively by the entertainment industry in the production of movies and video games, including virtual reality. Other common applications of this technology include augmented reality, motion capture, gesture recognition, robotic mapping, industrial design, orthotics and prosthetics, reverse engineering and prototyping.
Functionality
The purpose of a 3D scanner is usually to create a 3D model. This 3D model consists of a point cloud of geometric samples on the surface of the subject. These points can then be used to extrapolate the shape of the subject (a process called reconstruction). If colour information is collected at each point, then the colours on the surface of the subject can also be determined.
3D scanners share several traits with cameras. Like most cameras, they have a cone-like field of view, and like cameras, they can only collect information about surfaces that are not obscured. While a camera collects colour information about surfaces within its field of view, a 3D scanner collects distance information about surfaces within its field of view. The “picture” produced by a 3D scanner describes the distance to a surface at each point in the picture. This allows the three dimensional position of each point in the picture to be identified.
For most situations, a single scan will not produce a complete model of the subject. Multiple scans, even hundreds, from many different directions are usually required to obtain information about all sides of the subject. These scans have to be brought into a common reference system, a process that is usually called alignment or registration, and then merged to create a complete 3D model. This whole process, going from the single range map to the whole model, is usually known as the 3D scanning pipeline.
Get in touch
Transform your business to the next level.


